
There have been some big changes in the bathroom...It was the first room that we wanted to get finished and fully functioning...being able to have a long hot shower at the end of a busy day was a big priority.
We want to make the best of what we've inherited from the old owners without spending much money (we'd love to rip everything out and start from the bones in here one day). The look we're going for is simple, classic and fresh.

So far all we'd done in here was change out the old bath and strip the wall paper. The next thing we did was to paint all the trim and freshen up the bathroom cupboard. Who loves bathroom cupboards? EVERYONE RIGHT?! - we didn't have any storage in our old bathroom so having a big cupboard in here feels 1st class fancy.

I didn't take any photos of the inside of the cupboard when we moved in but it had 3 uneven and very thick shelves (they were made out of old kitchen cabinet doors - got to love that thriftiness). After we removed the shelves and the switch for the old whirlpool bath we decided on 2 x 1/2s for the brackets and 10mm MDF for the shelves to make the most of the space (and because I liked the skinny shelf look - I think it's tres NAC) - it works in here because the shelves don't need to be load bearing - they'll just be holding towels, toilet paper and some cleaning supplies. My dad helped me install everything and we were able to fit in an extra shelf by spacing them evenly.
One of the sides of the cupboard is really uneven so I filled any big gaps between the walls and the brackets with lightweight filler (this one is my favourite for big holes and big cracks), caulked them and gave everything 3 coats of everywhere paint in pure brilliant white.
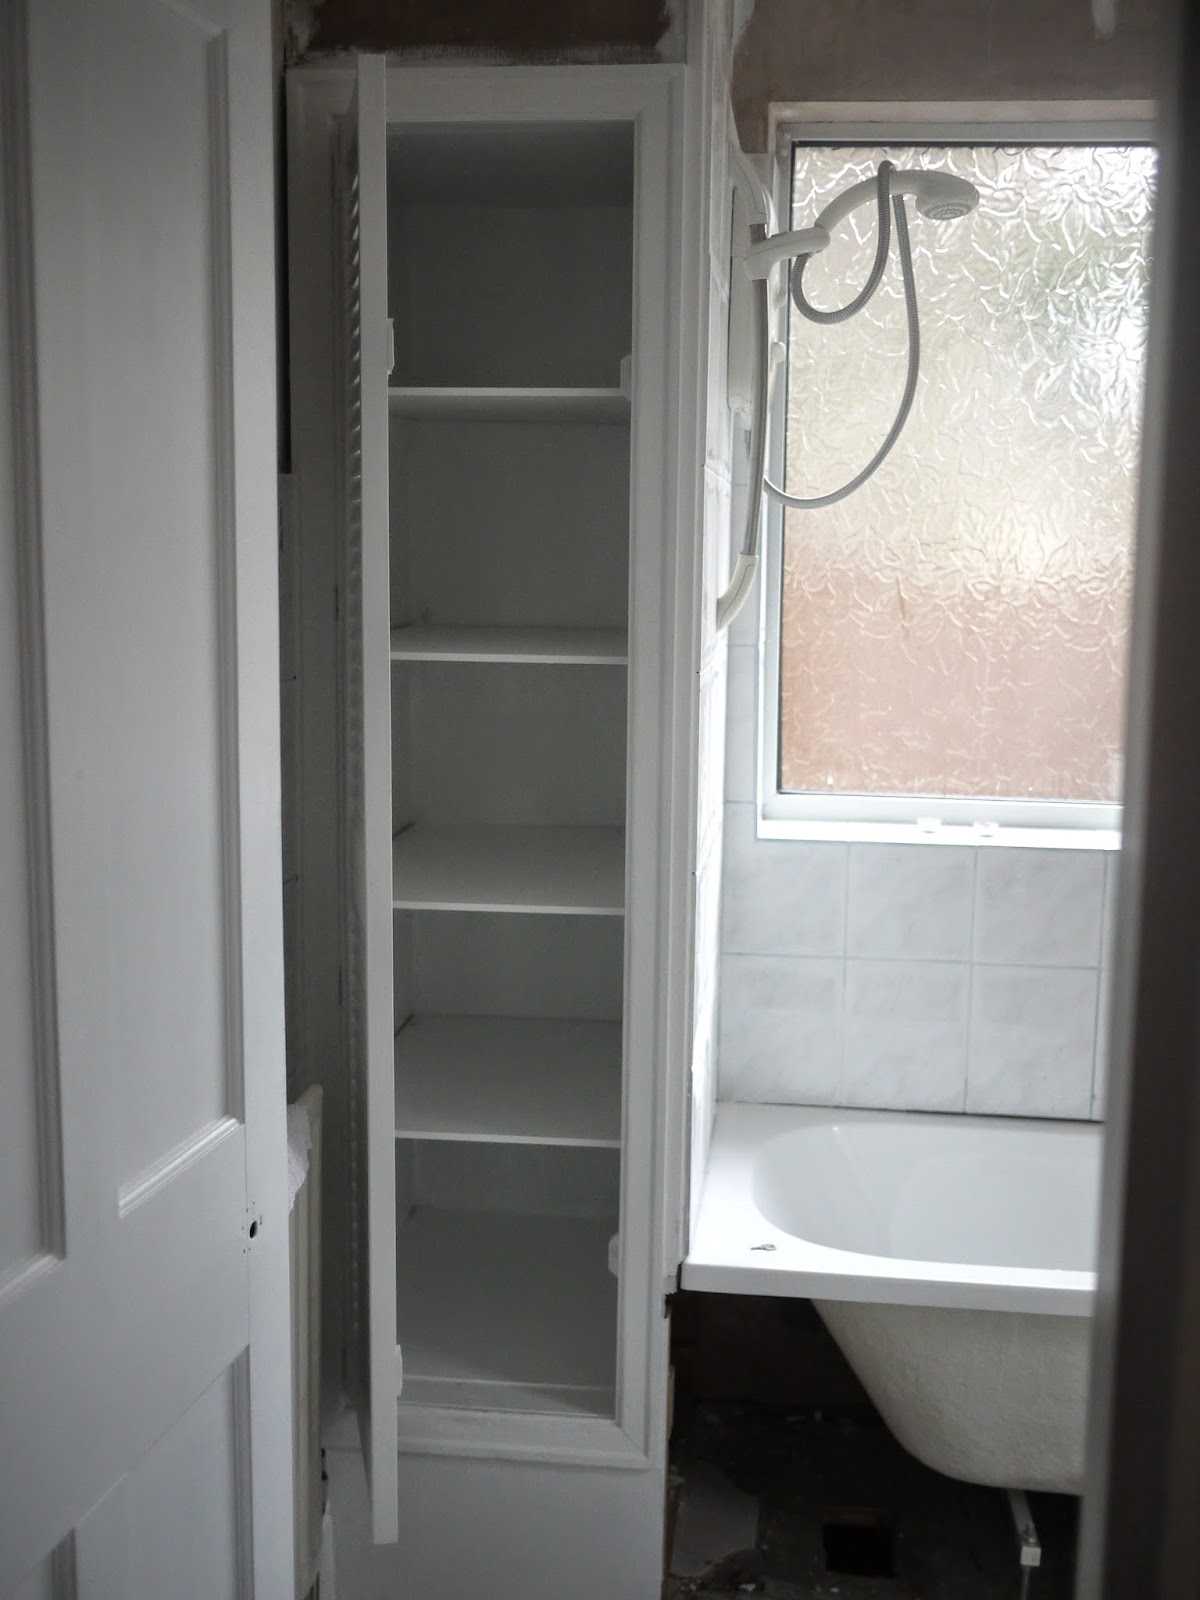

I used the same paint for the door (after giving it a coat of undercoat) and finished it off with a new oil rubbed bronze pull.


It's looking super fresh now and I can't wait to get all of our bathroom supplies organised (I'm a total sucker for neat, pretty, well stocked cupboards).
The next thing was building the bath panel. I made a simple frame from scrap wood we had on hand and screwed it into the walls.

We had a sheet of plywood and lengths of strip wood cut to size at B&Q - first I screwed the plywood into the frame on each side and then I glued and tacked the strip wood to cover the screw heads.


Then I gave it a few coats of the same white paint I used for the trim and cupboard and sealed everything in.

(I didn't tape off the top of the bath when I painted the bath panel and some invisible paint residue must have remained when I wiped it down after painting because you can see where it has darkened from the dye in my jeans thanks to my morning ritual of sitting on the side of the bath to brush my teeth - my plan is to carefully scrape it off with a blunt window scraper...next time I'll be sure not to skip the tape!).
When we bought the house we planned to keep the dated but neutral tile and just paint the dark blue grout - but when we changed the bath we had to remove some of them, plus there were about 10 which had holes from where we had removed things like toothbrush and towel holders from the walls.
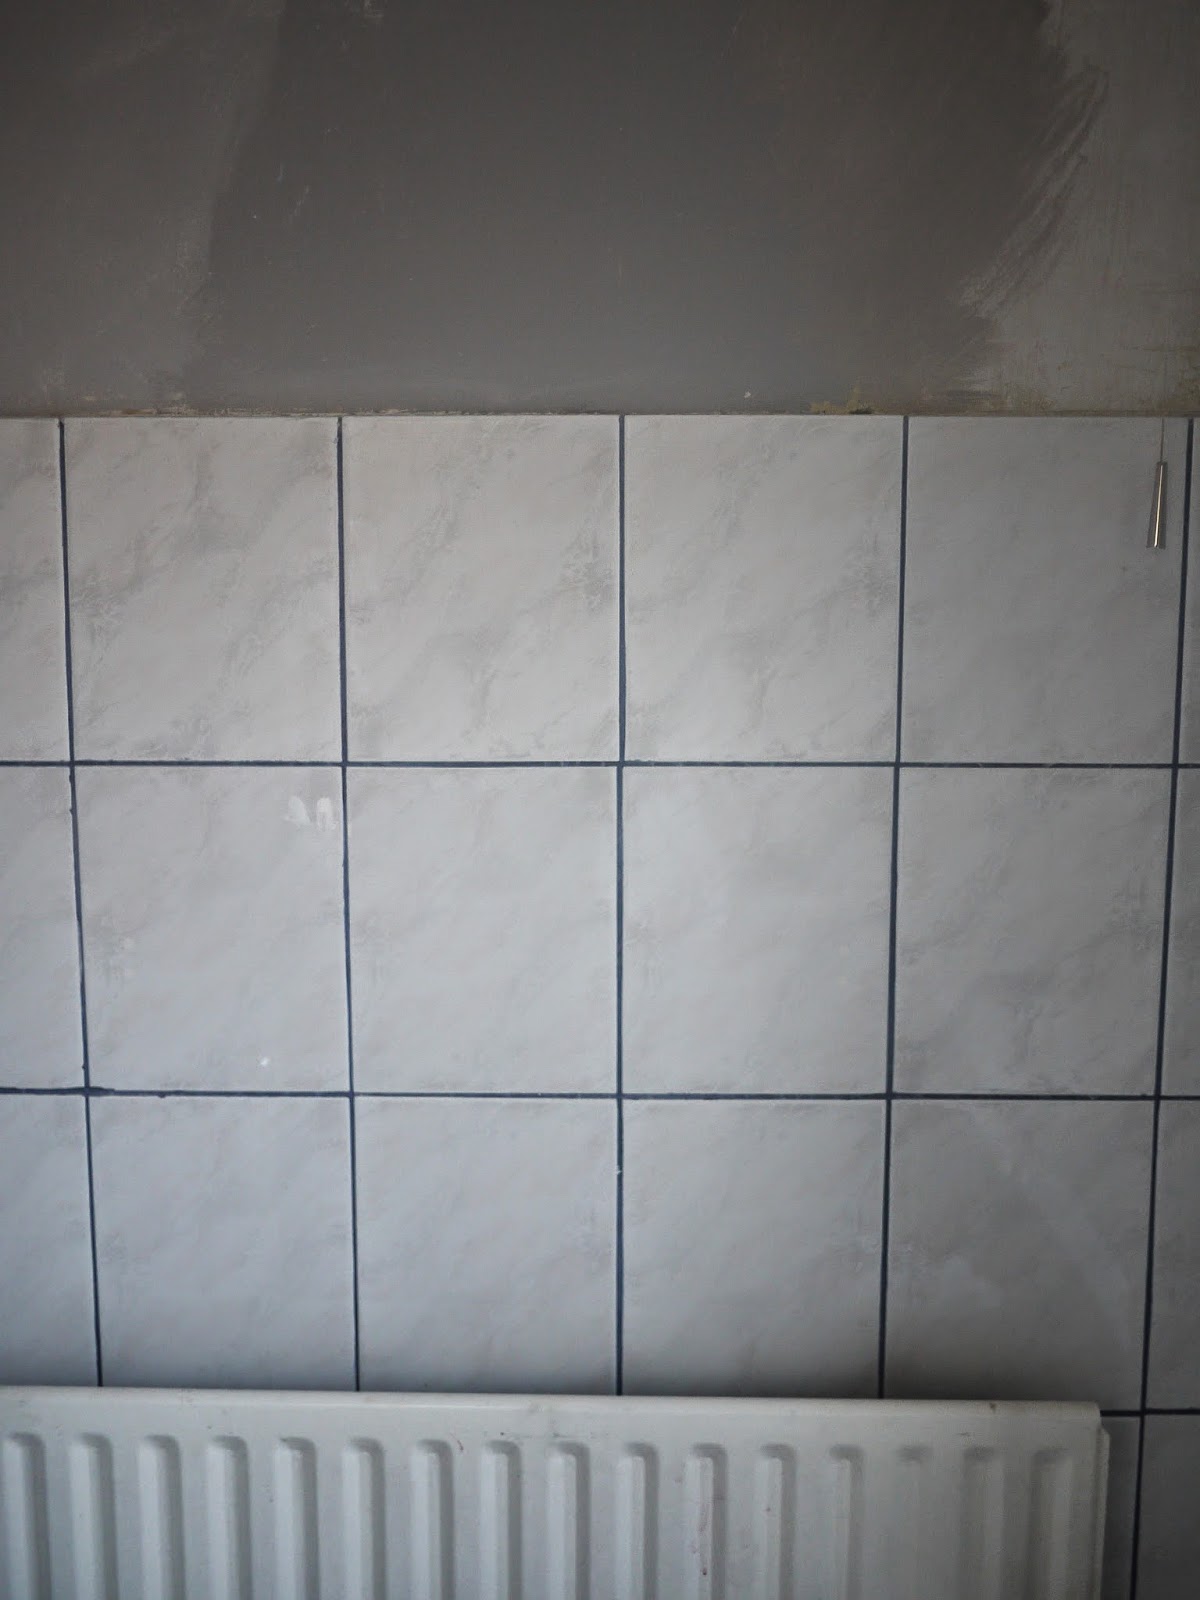
We couldn't find a perfect match so we used plain white tiles to fill the gaps and decided to try out tile paint. The first attempt was a big flop! I used this paint which said it didn't need a primer - I applied the first coat and waited twice the recommended time to apply the second - but almost instantly it started to blister...whamp whamp (I'm not sure why - I followed the instructions carefully). I used a window scraper to scrape and peel the paint from the tiles and started over - this time I started by applying 2 coats of undercoat with a foam roller and then finished off with one coat of tile paint and it worked fine - no blistering (if I was ever to paint tile again I think I'd try a cheaper tile paint and a separate primer).


I'm really happy with how it turned out - we don't expect it to hold up for ever but if we treat it gently hopefully it will tide us over until we're ready for a full reno.
You can see in the photo above that we also painted the walls with some left over paint we had from the living room until we find the colour that we want (we're looking for a darker grey - something like this).
We weren't sure what to do with the floor in here but after we painted the tiles the grout looked a bit rough in comparison. It's not so obvious in photos but no matter how much we cleaned it there was a subtle ombre going on between the lighter areas near the walls to the more worn area in the middle.

If it was available in the UK I would have loved to try Polyblend Grout Renew - I've read so many good reviews - but instead I just used a kids paint brush to apply 2 coats of undercoat and one coat of Ronseal Diamond Hard floor paint in white, making sure to get right in the edges - and then I used a baby wipe to clean up the tile.


I think it ties into the wall tile so much better now - one of those little details that helps everything gel together (we also sprayed the gold door handle with Rust-Oleum's oil rubbed bronze - another detail that I love).


It's so nice to get some of the big jobs crossed off the list and see how we've progressed since we bought the house:

...to when we moved in:

...to now. Paint! I love you!
No comments:
Post a Comment